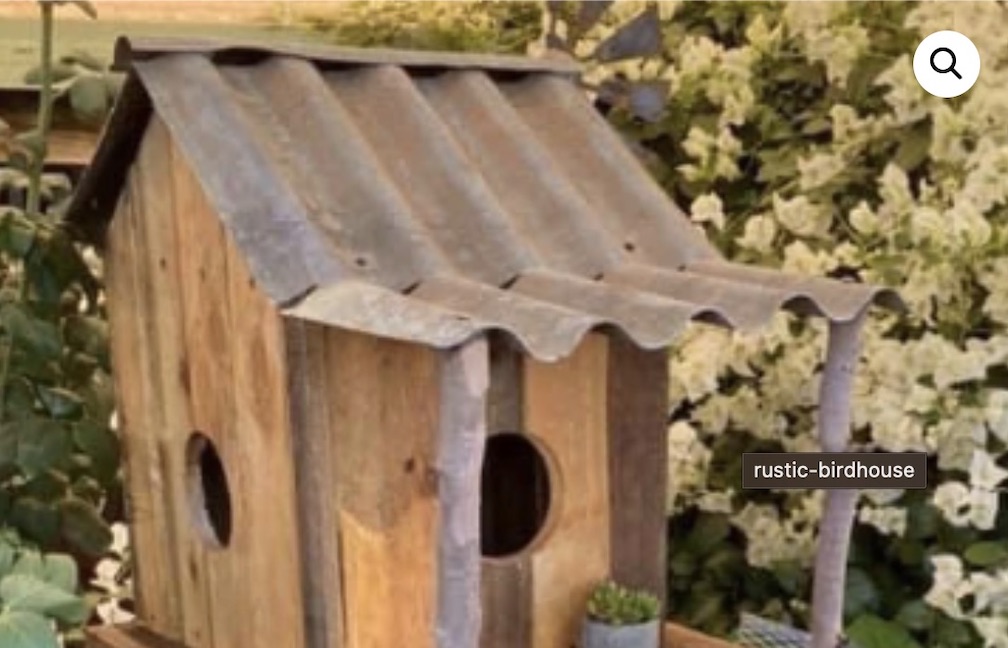
How To Properly Paint A Birdhouse
- Written by mothers.net.au

Painting a birdhouse may seem like a daunting task, but with the right tools and techniques, you can transform an ordinary dull wooden building into a vibrant little home that will attract birds of all shapes and sizes!
From selecting the ideal paint colors to finding out which type of brushes are suitable for intricate detailing; this guide at https://www.birdlodges.com/ provides step-by-step instructions on how to properly paint a birdhouse. So, grab your supplies, roll up your sleeves, and let's get creative as we learn the basics of giving life to some feathered friends' habitat!
Supplies
To get started, gather these supplies: exterior paint or sealant, primer (for wood surfaces only), painter’s tape, paintbrushes in several sizes and shapes, drop cloth or newspapers. You may also want to add stencils or stickers for decoration. Once you have everything you need, here’s how to go about painting your birdhouse.
And here’s how to paint a birdhouse.
Step 1: Paint the face of the birdhouse.
Begin by covering up any areas you don't want to be painted with painter's tape — such as the birdhouse's entrance hole — and then apply a thin layer of primer. Once the primer has dried, it’s time to paint! Use a brush that’s small enough to get into all the cracks and crevices so you can get an even coat on the entire surface.
Step 2: Paint the roof and sides of the birdhouse.
It may be easier to start with the roof, as it is often flat and uniform in shape. Again, use painter’s tape for any areas of detail or for sections you don't want to be painted. For smaller details, use a thinner brush with shorter bristles — this will help you get crisp lines without making a mess. After completing each section, let it dry before moving on to the next.
Step 3: Do the detail work!
This is where you can really add personality to your birdhouse. If you’re using stencils or stickers, place them on the surface of the birdhouse and then paint over them with a thin brush. You can also use painter's tape and craft paper to create patterns like stripes or polka dots. Once again, be sure to let each section dry completely before adding more details or colors — otherwise, they may run together or smudge.
Step 4: Seal it.
After you’ve completed your masterpiece, seal it with exterior paint or sealant so that the colors will last longer and be protected from the elements. Doing this will also make it easier to clean — just wipe off any dirt or mud with a damp cloth!
Now you have a beautiful, one-of-a-kind birdhouse that is sure to attract feathered friends to your backyard. Enjoy!


